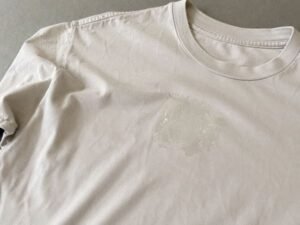
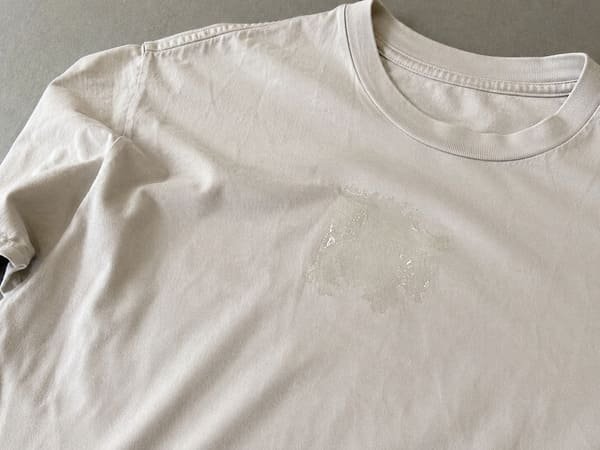
Sticker residue on clothing can look like a small problem, but the wrong removal method may damage the fabric or make the residue harder to deal with.
If you are trying to figure out how to get sticker residue off clothes, start by identifying the type of adhesive and checking the garment. Then work through the removal methods step by step, beginning with the gentlest option.
Identify the Type of Adhesive Residue
Before choosing a removal method, first identify where the adhesive came from. For patches and stickers used on clothing, the residue usually comes from either pressure-sensitive adhesive used on stickers and self-adhesive patches, or heat-activated adhesive used on iron-on patches.
Sticker and Self-Adhesive Patch Residue
Price labels, name stickers, event stickers, and similar products generally use relatively light adhesive because they are designed for temporary labeling.
Self-adhesive patches also use a peel-and-stick system, but the adhesive normally needs stronger holding power than a lightweight paper sticker.
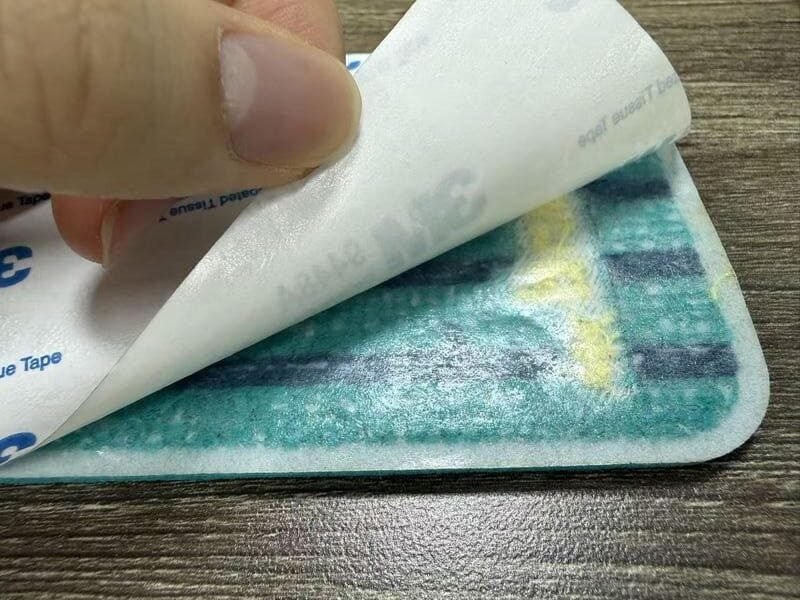
In our production, we work with different self-adhesive specifications, including 50 μm, 80 μm, 100 μm, and 150 μm options. Different adhesive strengths can be selected according to how the patch will be used.
However, stronger adhesion does not automatically mean more residue.
From our experience, adhesive quality is one of the most important factors in whether glue transfers to the garment during removal. Poor-quality adhesive is more likely to separate and remain on the fabric. With the self-adhesive materials we use, adhesive transfer is not something we normally see when the patch is used and removed correctly.
Self-adhesive backing is mainly suited to temporary attachment, events, DIY projects, and short-term positioning. For permanent attachment, sewing the patch onto the garment is usually a more reliable choice.
Iron-On Adhesive Residue
Iron-on backing works differently.
Self-adhesive backing uses pressure-sensitive adhesive that bonds when the patch is pressed onto the surface. Iron-on adhesive is activated by heat and bonds more closely with the textile structure during heat pressing.
Self-adhesive residue and heat-activated iron-on adhesive require different removal approaches. This guide focuses mainly on sticker and self-adhesive residue and we will cover how to remove heat-activated adhesive from fabric in a separate guide.
Check the Fabric Before Treating the Residue
Once you know what type of adhesive you are dealing with, check the fabric and its care requirements before applying any cleaning method. This helps you determine which treatments are safe to try and which ones should be avoided.
Follow the Fabric Care Instructions
Always work within the garment’s care instructions when treating adhesive residue. Cotton, denim, polyester, nylon, wool, silk, stretch textiles, and coated fabrics can respond differently to cleaning products, friction, and heat.
If the care label limits heat, solvents, washing, or other treatments, follow those restrictions. When you are unsure how the fabric will respond, begin with the mildest suitable method.
Check Prints, Coatings, and Surface Treatments
Pay extra attention when the residue is close to a printed design, waterproof coating, special finish, or heavily dyed area.
A cleaner may leave the base fiber intact while still damaging the surface treatment.
Before treating a visible area, test the product on a small hidden section and check for:
- Color transfer
- Print or coating damage
- Fiber distortion
Also consider whether the residue is fresh or has already been through washing or drying, as older or heat-exposed adhesive may require more careful treatment.
How to Remove Sticker Residue From Clothes Step by Step
After checking the adhesive and fabric, start with the lowest-risk method and move gradually if the residue remains.
Step 1: Remove the Sticker or Self-Adhesive Patch Carefully
If the sticker or patch is still attached, remove it properly first.
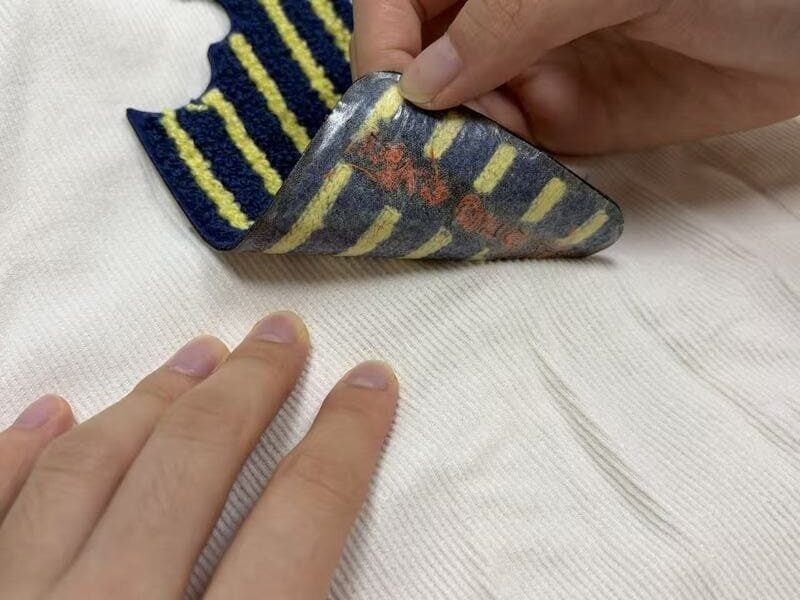
For a self-adhesive patch, hold the garment steady and peel diagonally in one consistent direction using an even motion.
Avoid pulling from several sides or repeatedly changing direction. In our experience, this can increase the chance of adhesive being left on the fabric.
Please note: do not heat a self-adhesive patch before peeling it off. Heat can strengthen the adhesive bond and make clean removal more difficult.
Step 2: Lift Fresh Residue Before Using Chemicals
If only a small amount of adhesive remains, try mechanical removal first.
A soft cleaning cloth can help collect loose adhesive without aggressively rubbing the fabric.
You can also use reverse-tacking: lightly press clean tape or another clean adhesive surface onto the residue and lift it away. Repeating this several times can gradually remove fresh adhesive.
Avoid knives, metal scrapers, or other sharp tools that may damage the fibers.
Step 3: Try a Mild Cleaner
If residue remains, apply a small amount of mild detergent and gently work over the area.
For many garments, this is enough to remove the remaining tackiness.
On delicate, printed, coated, or strongly dyed fabrics, test the detergent on a hidden area first.
Step 4: Use Alcohol or an Adhesive Remover if Necessary
For more stubborn residue, rubbing alcohol or a commercial adhesive remover may help.
Neither is suitable for every garment, so test first and stop if you notice fading, coating damage, or surface distortion.
Acetone and other strong solvents require even more caution. They can dissolve some adhesives, they may also damage fabric, prints, coatings, or patch materials.
Step 5: Use Very Gentle Warmth Only for Older Residue
There is an important difference between heating a patch before removal and applying mild warmth after the patch is already gone.
We do not recommend heating a self-adhesive patch before peeling it off.
However, when only older residue remains, very gentle warmth may soften the adhesive enough to make reverse-tacking easier.
Do not use a hot iron directly on the area. Keep the temperature low, then try lifting the softened adhesive again with clean tape.
Step 6: Wash, Check, and Then Dry
Once the residue appears to be gone, wash the garment according to its care instructions.
Check the area again before using a dryer. If it is still sticky, air-dry the garment and repeat a gentle treatment instead of exposing the residue to more heat.
What If the Clothes Have Already Been Washed or Dried?
Sometimes residue is only noticed after the garment has been washed.
If that happens, avoid putting it straight into the dryer when possible. Dryer heat can soften remaining adhesive and allow it to move further into the textile structure, making later removal more difficult.
Instead:
- Apply mild detergent.
- Test alcohol or a suitable adhesive remover only if needed.
- Air-dry and check the area again.
If the garment has already been through the dryer, the residue may still be removable, but several gentle treatments are usually safer than one aggressive attempt.
Why Do Some Self-Adhesive Patches Leave Residue?
It is easy to assume that residue appears simply because a patch has been attached for too long. From our experience, however, the adhesive itself plays a larger role.
Low-quality adhesive is more likely to transfer onto the fabric, while a well-selected adhesive should release more cleanly.
Fabric structure can still influence the result. Materials such as terry cloth and corduroy can be more challenging, while smoother woven materials such as twill are generally easier to work with.
If the patch needs to withstand repeated wear and washing, we would normally recommend sew-on, iron-on, or hook-and-loop backing instead.
Can You Reuse a Self-Adhesive Patch?
The patch itself may still be usable after removal, but its adhesive surface often loses much of its original tack.
Dust, lint, and fabric fibers can stick to the exposed adhesive and reduce its holding power.
If you still want to reuse the patch, you can sew it onto another garment or add a new backing instead of relying on the original adhesive layer.
What Not to Do When Removing Adhesive
A few mistakes can turn a small residue problem into permanent fabric damage:
- Do not scrape with sharp or metal tools.
- Do not begin with acetone or other strong solvents.
- Do not use high-temperature ironing to force the adhesive off.
- Do not continue rubbing if the fabric begins to fade, fuzz, or distort.
The goal is not simply to remove the glue as quickly as possible, but to remove it without creating a more visible problem.
When Should You Stop Trying to Remove the Residue Yourself?
It is usually better to stop DIY treatment when:
- The garment is delicate, valuable, or coated.
- The fabric begins to change color, texture, or shape.
- Several gentle attempts have made little improvement.
- You are unsure whether a stronger cleaner will damage the garment.
At this stage, a professional garment cleaner is often the safer choice.
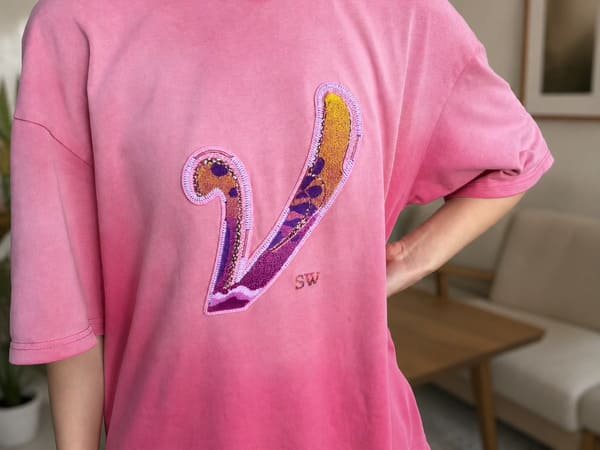
If the fabric itself is still in good condition but a small visible mark cannot be completely removed, there is another practical option: cover the area with a patch you like.
Depending on the garment, you can sew the new patch over the affected area or use a suitable iron-on patch. This can turn a difficult-to-remove mark into part of the garment’s design instead of repeatedly exposing the fabric to stronger chemicals.
Frequently Asked Questions
Begin with mild detergent and gentle lifting. Avoid high heat and test stronger cleaners on a hidden area first, especially if the garment is printed or coated.
Yes. It may affect certain dyes, prints, coatings, or finishes, so always test it before treating a visible area.
No. From our experience, adhesive quality is one of the main factors. Good-quality backing should release more cleanly, while poor-quality adhesive is more likely to transfer onto the garment.
They are better suited to temporary use, short-term positioning, events, displays, and DIY applications. For repeated washing or long-term wear, sew-on, iron-on, or hook-and-loop backing is usually a better choice.