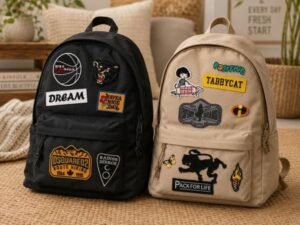
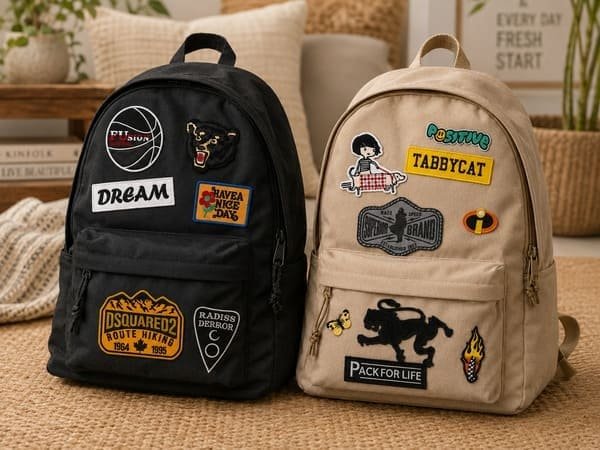
Want to switch from a team patch during the week to a different design for a weekend trip? Velcro patches for backpacks make that easy—you can attach, remove, and swap a patch in seconds without permanently sewing the patch itself in place.
This guide walks you through the complete setup—from checking the loop panel and choosing the right size to attaching, swapping, troubleshooting, cleaning, and ordering the right Velcro patch.
SMLpatch Experience Note: The technical observations in this guide come from our production experience, internal practical testing, and real-world applications. Approximate peel-cycle figures are practical references rather than universal lifespan guarantees.
Check Your Backpack for a Loop Panel
Before attaching a patch, first check whether your backpack already has a suitable loop panel and whether its size matches the way you plan to use the patch.
A standard hook-and-loop setup is: Patch → Hook Side → Loop Panel → Backpack
The rough hook side is normally attached to the back of the patch, while the softer loop side stays on the backpack.
If Your Backpack Already Has a Loop Panel
If your backpack already has a soft loop panel, check three things:
- Is the panel securely attached?
- Is the surface clean and free from lint?
- Is it large enough for the patch you want to use?
If all three are fine, you can attach a compatible hook-backed patch directly.
Loop panels are commonly made from nylon or polyester. Both work for normal hook-and-loop attachment, although in our regular production we generally prefer nylon loop material when a higher-quality option is required.
If There’s No Loop Panel, Choose the Right Loop Panel Setup
There is no single sizing rule because the best setup depends on whether the loop panel is intended for one main patch or for several interchangeable patches.
Option 1: A Loop Panel Designed for One Main Patch
If you do not want a large area of visible loop material and you expect to use roughly the same patch most of the time, the loop panel can be made close to the shape and size of that patch.
In this setup, the patch itself can be approximately 1–2 mm larger around the edge than the corresponding loop panel.
This allows the patch to cover the loop material underneath and gives the finished backpack a cleaner appearance.
However, we do not recommend making the patch significantly larger than the loop panel. If too much of the patch extends beyond the supported area, the exposed edges are more likely to bend, lift, or catch on other objects.
Option 2: A Larger Loop Panel for Different Patches
If you want to change between different patch designs or sizes, use a larger general-purpose loop panel.
In this setup, the entire hook backing of each patch should sit inside the usable loop area.
A larger panel gives you more freedom to swap designs such as:
- Name patches
- Team or club patches
- Morale patches
- Seasonal designs
without changing the backpack-side setup each time.
What About Very Large Patches?
A very large patch does not always require one equally large loop panel.
For some oversized designs, several strategically positioned hook-and-loop attachment points can be used instead of covering the entire back of the patch.
The visible loop sections can also be cut into selected shapes so that, when the patch is removed, the remaining loop areas still look intentional rather than like unfinished attachment hardware.
This approach can be useful when both secure attachment and the appearance of the backpack without the patch matter.
How to Add a Loop Panel to Your Backpack
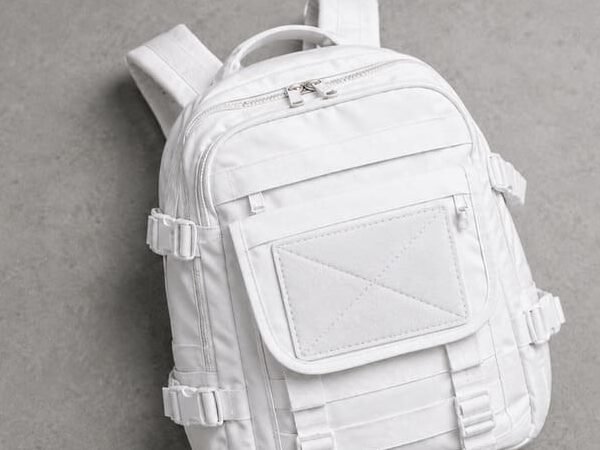
If your backpack does not already have a loop panel, you can add one.
The best attachment method mainly depends on whether you want a long-term or temporary setup.
For Long-Term Use: Sew the Loop Panel On
For long-term use, sewing is the method we recommend most often.
Most common backpack fabrics can accept a sewn loop panel, although unusual materials should still be checked individually.
For a standard panel, we normally sew around the perimeter, approximately 2 mm from the edge.
For a larger loop panel, the center may need additional support. In that case, after sewing around the perimeter, diagonal stitching can be added across the middle to create an X-shaped reinforcement.
This keeps a larger panel flatter and more stable during repeated patch changes.
For Short-Term Use: Use an Adhesive Loop Panel
An adhesive-backed loop panel can be convenient when:
- The setup is temporary.
- You do not want to sew the backpack.
- The backpack surface bonds well with adhesive.
However, we generally do not choose adhesive as the first option for long-term use.
Different backpack surfaces and coatings can affect adhesion, so the convenience of a peel-and-stick installation does not always translate into long-term reliability.
If durability is your priority, a sewn loop panel is usually the safer choice.
How to Attach and Swap Velcro Patches on a Backpack
Once the loop panel is ready, attaching and changing the patch is simple.
How to Attach the Patch
First, remove any visible lint, loose fibers, hair, or dirt from the loop panel.
Then:
- Hold the patch above the panel and check its position.
- Press the patch evenly onto the panel.
- Run your fingers around the edges to make sure the entire patch sits flat.
You do not need to pull hard on the patch to test it. Normal hand pressure is enough to confirm that the hook and loop have engaged.
How to Remove and Swap the Patch
Start from one corner instead of pulling straight outward from the middle.
Lift the edge and peel the patch back gradually until the hook and loop separate.
This creates a more controlled removal and reduces unnecessary stress on the backing.
If you change patches frequently, keep the removed patch on a loop cover, patch display panel, or inside a protective pouch rather than leaving the exposed hook rubbing against clothing or loose fabric.
Why Does My Velcro Patch Keep Falling Off?
If a Velcro patch begins to feel weaker, do not immediately assume the whole patch needs replacing.
The problem usually becomes easier to identify once you look at the hook wear and loop condition separately.
Check the Hook Type and Its Condition
Not all hook backings provide the same grip.
In our regular production, we commonly work with three general structures:
Coarse hook
Usually nylon, thicker, and provides the strongest grip of the three. It is a common choice when secure attachment is the priority.
Fine hook
Thinner and slightly weaker than coarse hook. It is more suitable for softer or lighter patches where a bulky backing is unnecessary.
Ultra-fine hook
Even thinner with lower holding strength. It can be useful when easy opening matters more than maximum grip—for example, some soft internal backpack compartments.
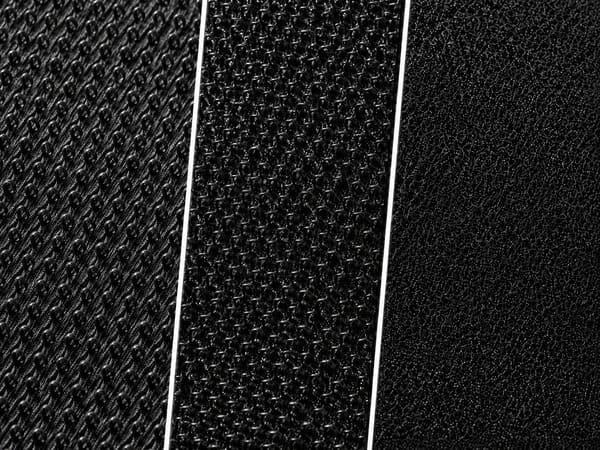
As the hook becomes finer, its holding strength generally becomes lower. The smaller hook structure can also be more sensitive to repeated wear than a coarser hook, so the strongest hook is not interchangeable with the thinnest one.
Repeated swapping also changes the hook over time.
In our practical use testing, the strongest grip was maintained for approximately 2,000 peel cycles. Around 2,000–2,500 repeated swaps, hook wear may become more noticeable.
The hook side generally wears first because repeated peeling gradually straightens some of the small hooks, reducing their ability to engage the loop fibers.
This means swap frequency often matters more than calendar age. A patch left on the same backpack for years can experience less mechanical wear than one removed several times every day.
Cross-Test the Hook and Loop
If the grip becomes noticeably weaker, test both sides separately.
Try:
- The original hook-backed patch on another known-good loop panel.
- Another hook-backed patch on the original backpack loop panel.
If the original patch grips well on the new loop, the backpack-side loop is probably the weaker component.
If another patch holds normally on the original loop, inspect the hook backing on the original patch.
This simple cross-test helps identify which side actually needs attention rather than replacing both parts unnecessarily.
Common Types of Velcro Patches for Backpacks
Hook backing can be added to different patch constructions, so the better question is not “Which material works with Velcro?” but which patch type best suits your design and use environment.
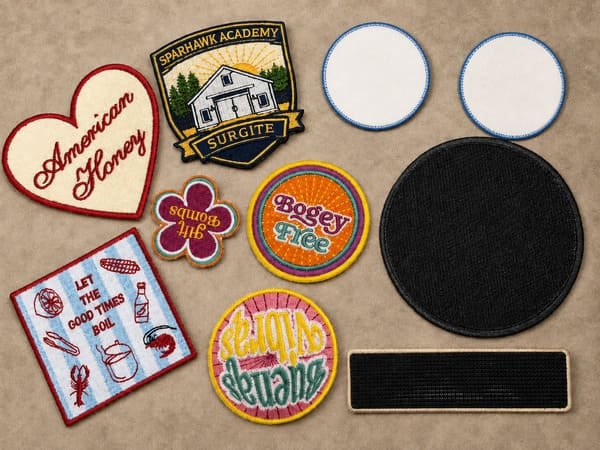
Embroidered Velcro Patches
Embroidery works well when you want:
- A traditional textile appearance
- Logos and emblems
- Strong color areas
- Team, club, or school designs
It is a versatile option for everyday backpacks and branded applications.
PVC Velcro Patches
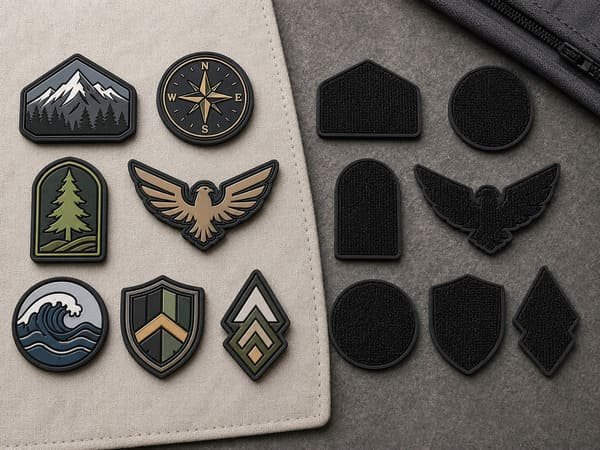
PVC is particularly useful for outdoor applications.
It offers:
- Strong three-dimensional detail
- A waterproof surface
- Easy wipe cleaning
- A more technical, outdoor appearance
Within the normal patch sizes and constructions we produce, the weight of a standard PVC patch has not been a significant problem for a properly sized hook-and-loop setup.
Woven Velcro Patches
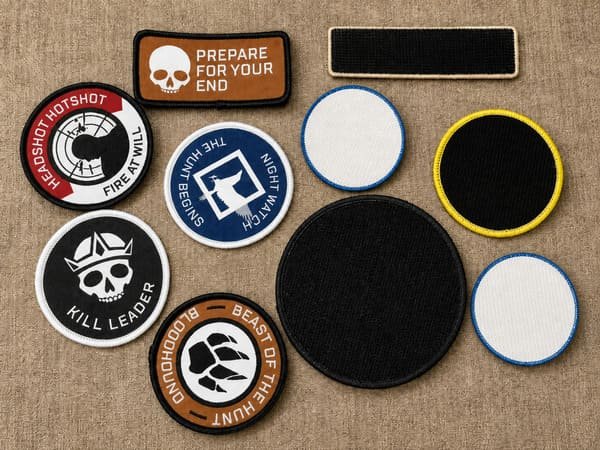
Woven patches are useful when your design contains:
- Small lettering
- Fine lines
- Detailed artwork
- Elements that need greater definition than conventional embroidery can easily provide
The best choice depends primarily on the artwork, desired appearance, and actual use rather than the hook backing itself.
How to Clean and Store Velcro Patches
If the patch can be removed, we recommend taking it off before washing the backpack.
The loop panel can generally be washed with the backpack when the bag material and care instructions allow it.
For the removable hook-backed patch, routine cleaning usually does not require machine washing. A soft damp cloth is normally enough for ordinary surface dirt.
Avoid:
- Excessive heat
- Strong acids
- Strong alkalis
- Aggressive chemical cleaners
If lint or fibers become trapped in the hook backing, use tweezers to remove them carefully.
We do not generally recommend aggressive brushing, and ordinary tape is often less effective once fibers are caught deeper inside the hooks.
For storage, a loop cover, patch display panel, or protective pouch can all help keep the hook surface clean and prevent it from catching other materials.
Velcro vs. Sew-On: Which Is Better for a Backpack?
If the patch itself needs to be removable and interchangeable, Velcro is usually the more convenient option.
You can change the design without repeatedly sewing into the backpack.
Sew-on is more appropriate when the patch is intended to stay permanently attached and does not need to be removed.
There is also an important middle ground:
Sew the loop panel permanently onto the backpack, while keeping the patch removable.
This gives you:
a secure long-term base + a patch you can swap whenever you want.
For many long-term backpack setups, this is the structure we prefer.
Our Velcro Patch Quality Checks and Real-World Experience
Before the FAQ, it is worth showing how these recommendations connect with the way we actually work.
How We Check Velcro Patches Before Shipping
During routine inspection, we check items such as:
- Whether the hook backing is securely attached
- Hook-and-loop dimensions
- Patch dimensions
- Edge quality
- Color
- Overall appearance
Repeated peel tests and manual pull checks are performed as sampling inspections from the production batch, rather than claiming that every individual patch is peeled thousands of times before shipping.
A Real Backpack Application From Our Experience
One customer came to us with a PVC Velcro patch for a waterproof nylon outdoor backpack.
After reviewing how the backpack would be used, we recommended a hook-and-loop setup and explained how the removable patch system would work in that application.
The project moved forward with that structure.
This kind of project is why we do not look only at the artwork when deciding on a patch. The backpack, use environment, patch size, appearance, and attachment requirements all need to work together.
We have also handled Velcro patch applications for outdoor gear, school bags, sports use, travel bags, motorcycle gear, clubs, and events.
Frequently Asked Questions About Velcro Patches for Backpacks
The soft loop side normally goes on the backpack. The rough hook side is attached to the back of the patch.
In our practical internal use testing, the strongest grip was maintained for approximately 2,000 peel cycles.
Around 2,000–2,500 repeated swaps, gradual hook wear may become more noticeable. This is a practical reference rather than a universal guaranteed lifespan.
Often, yes. The original backing does not always need to be removed. Depending on the patch condition, even some previously heat-applied iron-on patches can be reprocessed with hook backing.
Ready to Customize Velcro Patches for Your Backpack?
A reliable Velcro setup starts with more than the patch design.
Before production, it helps to know:
- Your artwork
- Preferred patch size
- Backpack type and intended use
- Whether the backpack already has a loop panel
- The loop-panel size, if available
- Indoor or outdoor use
Once we understand those details, we can help match the patch construction, hook backing, loop panel, and attachment setup to how you actually plan to use the backpack.
For long-term use, that may mean a securely sewn loop panel. For detailed artwork, it may mean woven rather than embroidered construction. For outdoor use, PVC may be the better fit.
The goal is simple: a patch that is easy to swap, stays secure in normal use, and fits the backpack the way you want it to.
If you are preparing a custom Velcro patch project, send us your artwork and backpack requirements and we can help you work through the setup before production.